
How to Add a Vertical Line in Squarespace (No Plugin Needed)
If you’ve ever tried adding a vertical line in Squarespace, you probably ran into a dead end.
You searched through the editor.
You checked the Divider block.
You tried adjusting section layouts.
And nothing worked.
That’s because Squarespace doesn’t offer a native vertical line option.
There’s no built-in block for it, only horizontal dividers.
Yet vertical lines are everywhere in well-designed websites. They create structure, separate content, and make layouts feel clean and intentional.
So how do designers add them?
Squarespace is built to keep things simple, which means some layout controls are intentionally left out. Vertical dividers are one of them.
That’s why so many people end up searching:
vertical line squarespace
how to add a vertical line in squarespace
squarespace vertical line
The feature isn’t missing because it’s impossible—it’s missing because it requires a small custom CSS solution.
The good news?
It’s far easier than most people expect.
How to Add a Vertical Line in Squarespace
Step 1 — Add a Code Block
Place a Code Block wherever you want the vertical line to appear and paste:
<div class="vertical-line"></div>
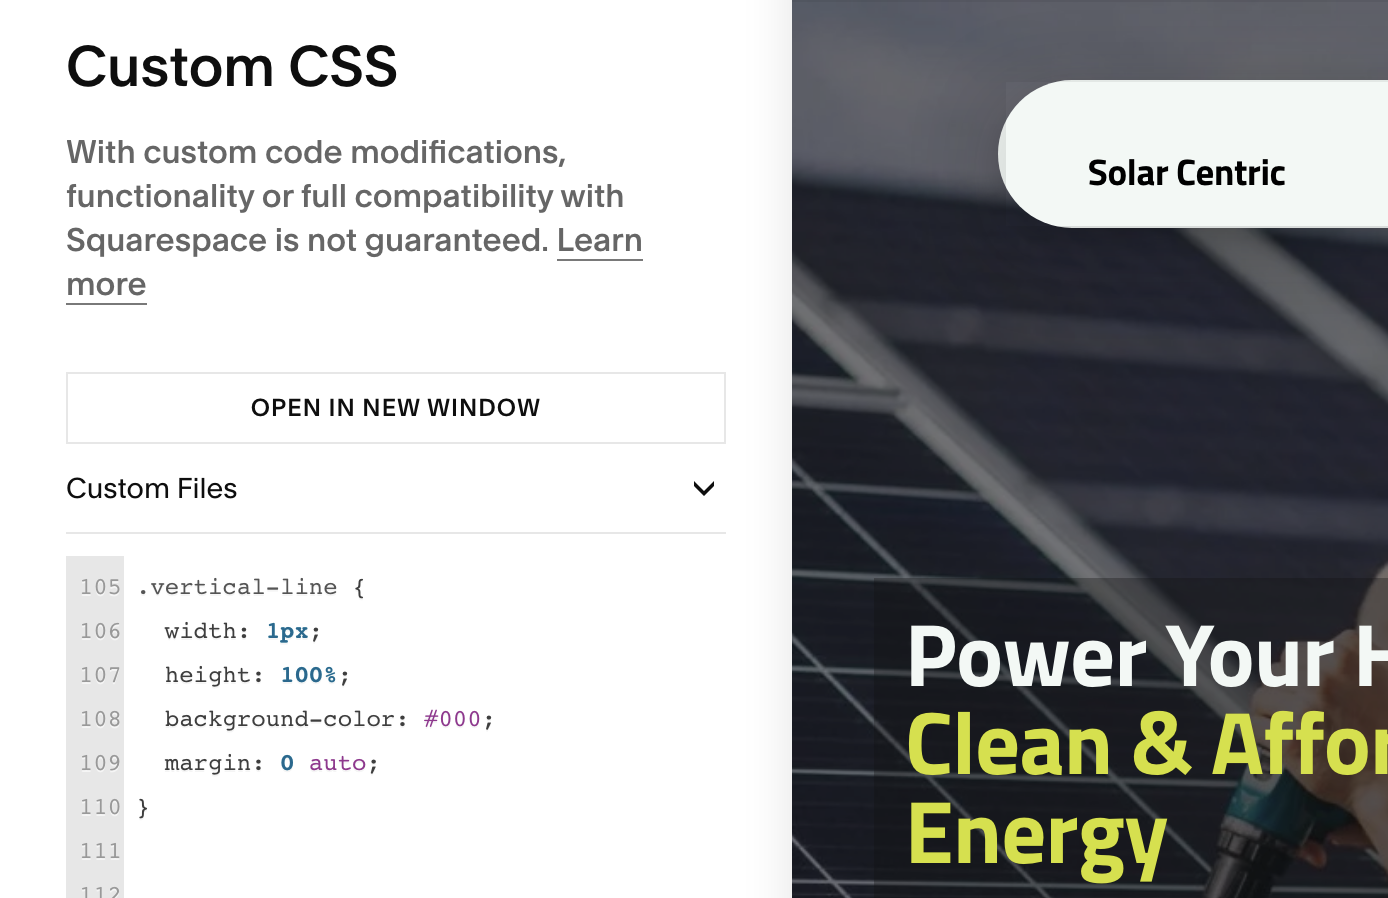
Step 2 — Add Custom CSS
Go to Design → Custom CSS and paste :
.vertical-line {
width: 1px;
height: 100%;
background-color: #000;
margin: 0 auto;
}
That’s it.
You now have a vertical line on your Squarespace site.
Customize It to Match Your Design
You can easily tweak the line to fit your layout:
Change the color
Adjust the height
Add spacing
Turn it into a dashed line
Even small adjustments can make your layout feel far more polished.
Why This Small Detail Matters
Vertical lines might seem minor, but they have a big impact on:
Visual hierarchy
Readability
Section separation
Overall professionalism
These are the kinds of subtle details that separate a “template site” from a custom, high-end Squarespace website.
Want More Design Fixes Like This?
I can help you. Feel free to contact me.